Active Directory Home Lab Part 2
In part 1 of this project, we set up all of our virtual machines and did some basic configuration.
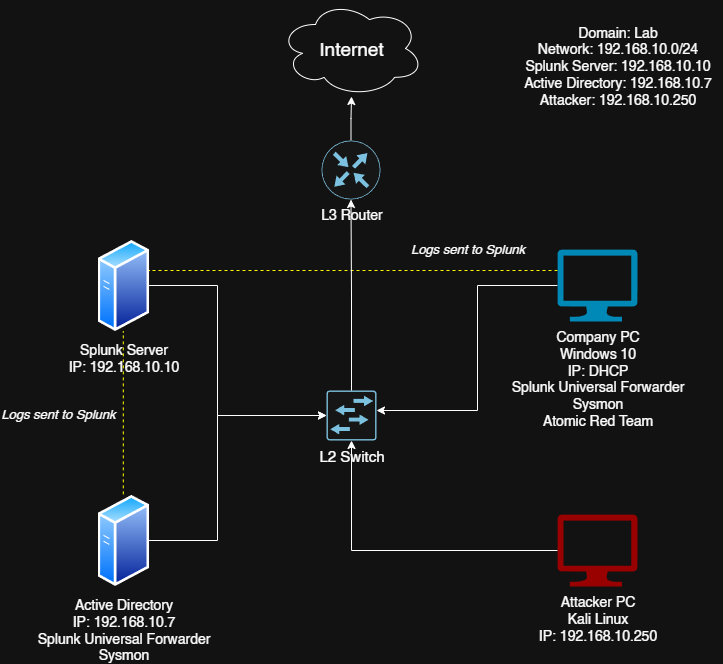
In this part we’ll be installing and configuring Splunk on our Ubuntu server and setting up Sysmon and Splunk Universal Forwarder on both our Windows 10 machine and Windows Server to start collecting telemetry and sending logs to our Splunk server.
Installing Splunk Enterprise
To install Splunk on our Ubuntu Server. First, we need to set up VirtualBox Guest Additions to enable shared folders between our host and virtual machine.
Setting up Shared Folders
On your Ubuntu Server, install the necessary packages:
1
2
3
sudo apt-get update
sudo apt-get install virtualbox-guest-additions-iso
sudo apt-get install virtualbox-guest-utils
Create a directory for our shared folder:
1
mkdir share
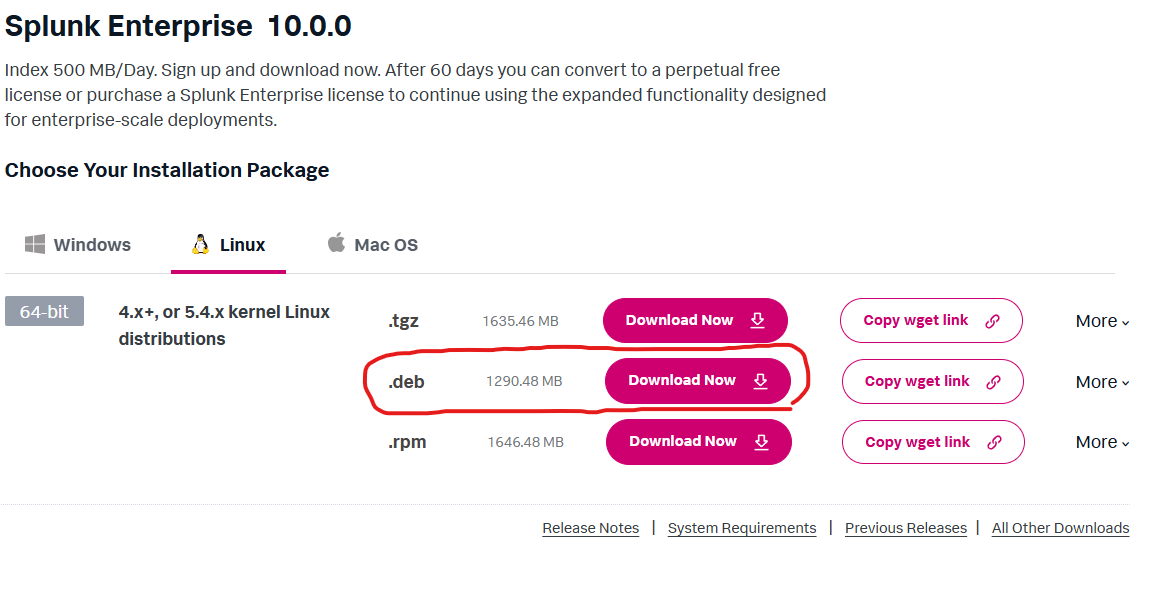
On your host machine, go to splunk.com, create an account, and click Free Trials and Downloads. Scroll down to Splunk Enterprise, click Get My Free Trial, select Linux as the operating system, and download the .deb file.
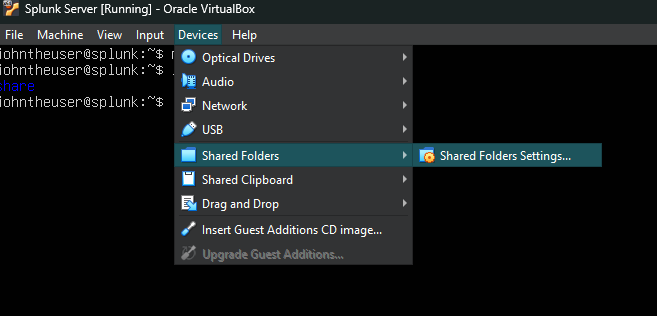
In VirtualBox, with your Ubuntu Server selected, go to Devices -> Shared Folders -> Shared Folder Settings.
Add a new folder:
- Folder Path: The directory where you saved the Splunk installer
- Folder Name: You can leave this as default
- Check Auto-mount and Make Permanent
Click OK

Mounting the Shared Folder
Back in your Ubuntu Server, add your user to the vbox shared folder group:
1
sudo adduser johntheuser vboxsf

Note: Replace
johntheuserwith your actual username.
Reboot the virtual machine:
1
sudo reboot
After rebooting, mount the shared folder:
1
sudo mount -t vboxsf -o uid=1000,gid=1000 shared_ubuntu share
Note: Replace
shared_ubuntuwith your directory name, where Splunk is stored on the host PC.
Navigate to the shared folder and install Splunk:
1
2
3
cd share
ls -la
sudo dpkg -i splunk-10.*.deb

Once you see Complete we can move on.
Configuring Splunk
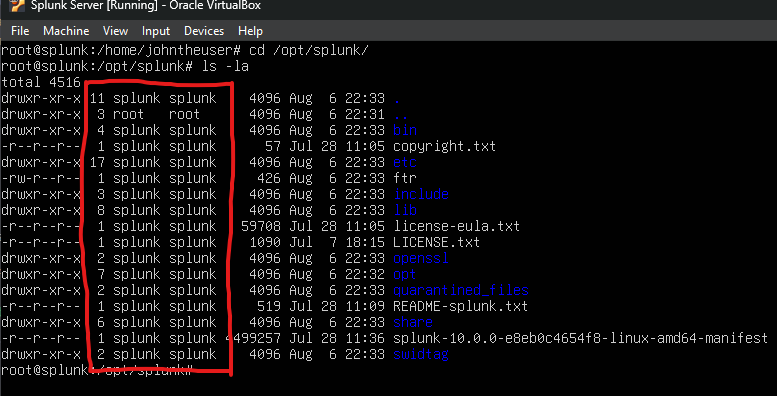
If you cd to /opt/splunk and run ls -la, you will see that all the files belong to the user Splunk. This limits the permissions to that user.
Change to the /opt/splunk directory and switch to the splunk user:
1
2
cd /opt/splunk
sudo -u splunk bash
Start Splunk for the first time:
1
2
cd bin
./splunk start

Accept the license agreement by pressing q and then y.
Create an administrator account:
- Username:
ultrajohn(or whatever you prefer) - Password: Choose a password
UltraPassword49
Now exit back to the regular user and enable Splunk to start on boot with the splunk user:
1
2
exit
sudo ./splunk enable boot-start -user splunk
Note: Make sure you all still in the directory
/opt/splunk/bin

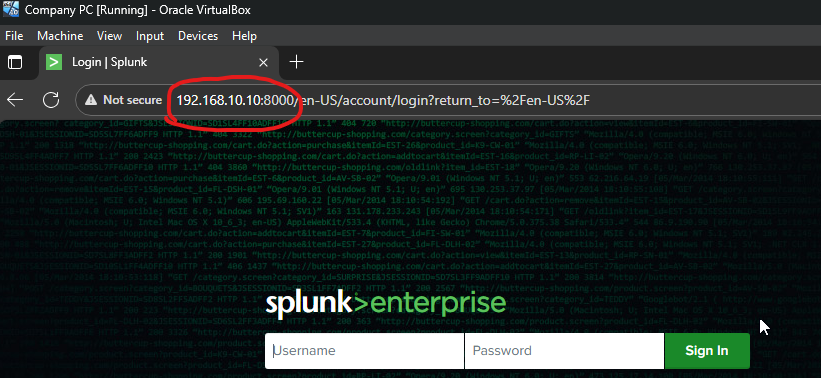
We can test connectivity by trying to access Splunk from the Company-PC machine. Open a web browser and navigate to:
1
http://192.168.10.10:8000
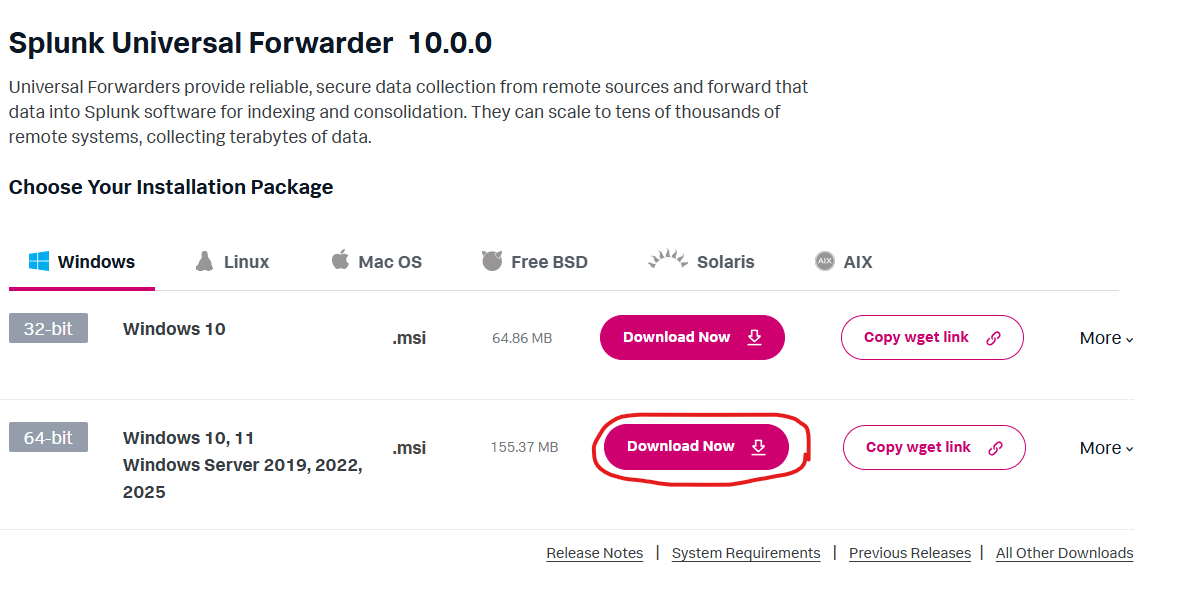
Installing Splunk Universal Forwarder
On the Company-PC, go to splunk.com -> Trials & Downloads -> Universal Forwarder -> Get My Free Download. Select 64-bit Windows and download the MSI file.
Run the installer:
- Accept the license agreement
- Select An on-premises Splunk Enterprise instance
- Username:
admin - Leave Generate random password checked
- Skip the deployment server
- Receiving Indexer:
192.168.10.10:9997 - Complete the installation
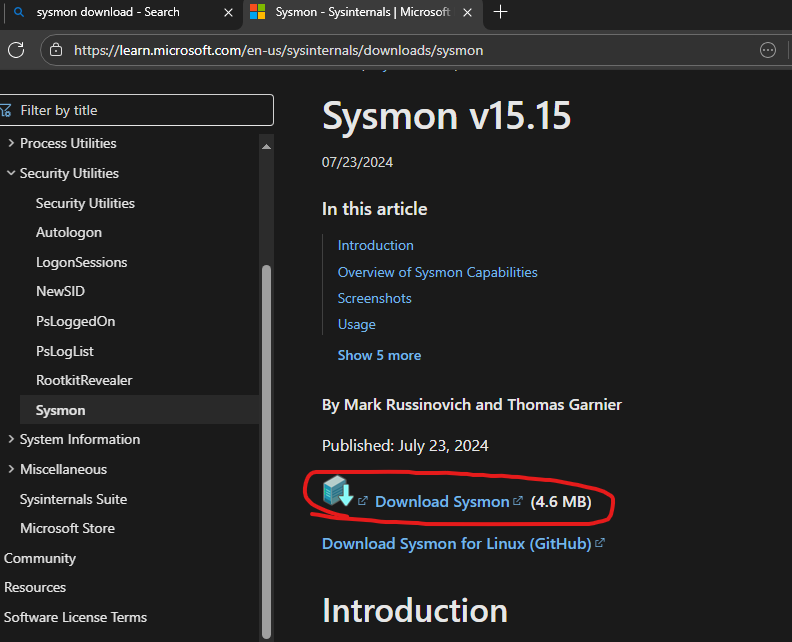
Installing Sysmon
Download Sysmon from Microsoft Sysinternals and extract it to a folder.
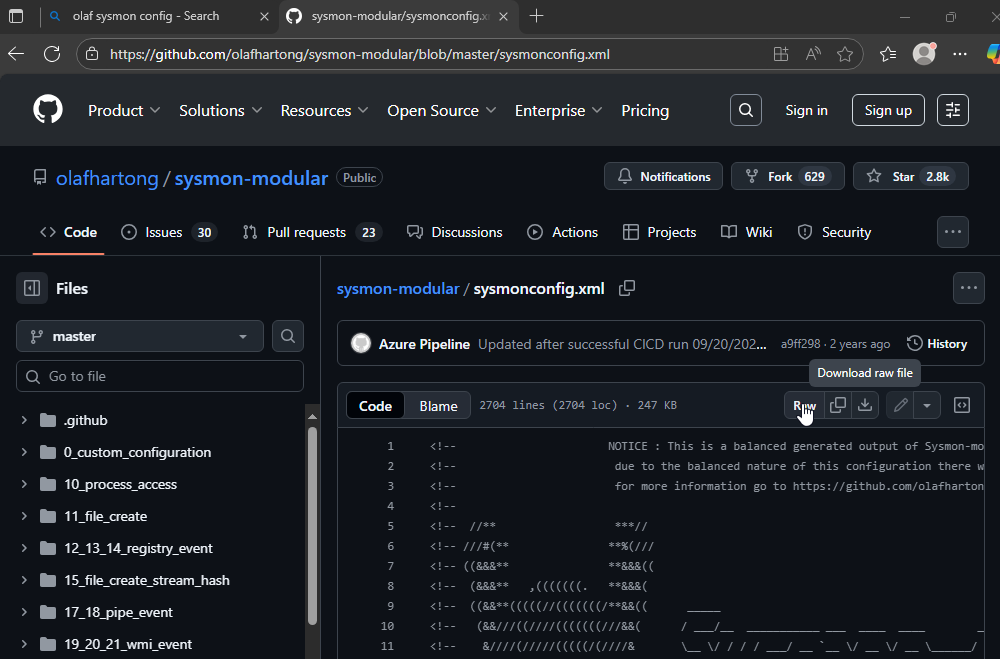
We’ll also need a configuration file. Search for “Olaf sysmon config” and download the raw sysmonconfig.xml file from his GitHub repository.
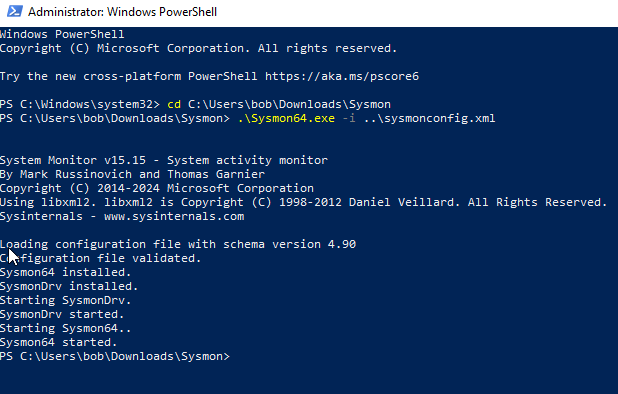
Open PowerShell as Administrator and run this to install sysmon with your config:
1
2
cd "C:\Users\bob\Downloads\Sysmon"
.\sysmon64.exe -i ..\sysmonconfig.xml
Click Agree to install Sysmon.
Configuring Splunk Universal Forwarder
This is the most important step. We need to tell our Splunk forwarder what data to send to our Splunk server.
Navigate to:
1
C:\Program Files\SplunkUniversalForwarder\etc\system\local
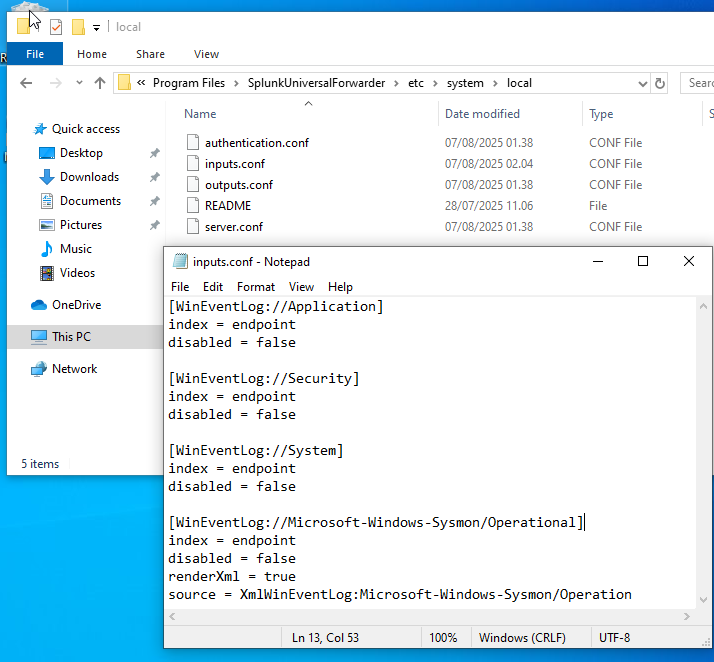
Open Notepad as Administrator and create a new file called inputs.conf with the following content:
1
2
3
4
5
6
7
8
9
10
11
12
13
14
15
16
17
[WinEventLog://Application]
index = endpoint
disabled = false

[WinEventLog://Security]
index = endpoint
disabled = false

[WinEventLog://System]
index = endpoint
disabled = false

[WinEventLog://Microsoft-Windows-Sysmon/Operational]
index = endpoint
disabled = false
renderXml = true
source = XmlWinEventLog:Microsoft-Windows-Sysmon/Operational
Save this file as inputs.conf in the local directory.
Updating Splunk Service Permissions
Search for Services, run as Administrator, and find SplunkForwarder Service.
Double-click it, go to Log On tab, select Local System account, and click Apply. The service will need to be restarted.
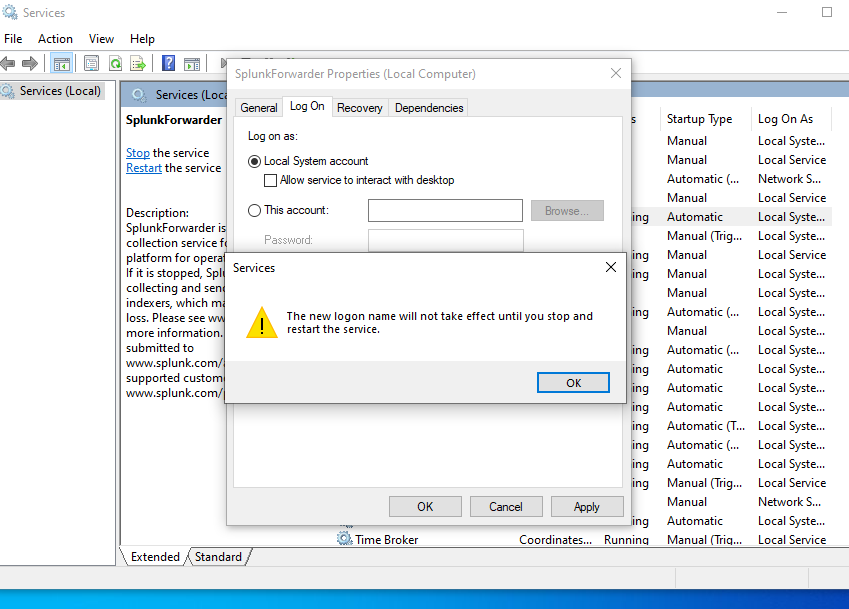
Right-click the service and select Restart.
Creating the Splunk Endpoint Index
Go to http://192.168.10.10:8000. Log in with the credentials you created earlier.
Go to Settings -> Indexes -> New Index:
- Index Name:
endpoint - Click Save
Enabling Data Receiving
Go to Settings -> Forwarding and receiving -> Configure receiving -> New receiving port:
- Listen on this port:
9997 - Click Save
Verifying the Splunk Setup
In Splunk, go to Apps -> Search & Reporting. Skip the welcome tours and search:
1
index=endpoint
Set the time frame to Last 24 hours and click Search. If everything is configured correctly, you should see these events coming in from your Company-PC:
- Application logs
- Security logs
- System logs
- Sysmon logs
You should see the host listed as Company-PC and various source types including Sysmon data.

Windows Server Setup
Sysmon and Splunk Universal Forwarder should also be installed on the Windows Server. The process is the same as we just did with the Company-PC:
- Install Sysmon and Splunk Universal Forwarder
- Use the same
inputs.conffile - Configure the Splunk Service Permissions
- Restart the Splunk service after configuration
If everything is set up correctly, you should see two hosts in Splunk: Company-PC and ADDC01.
Troubleshooting
- Always restart the SplunkForwarder service after updating
inputs.conf - Make sure the service runs as the
Local Systemaccount - Verify network connectivity between machines by using
ping - Make sure the
endpointindex exists in Splunk
Note: You won’t be able to ping between Windows computers by default because ICMP (ping) traffic is blocked by Windows Firewall. If you wanted to enable this, you’d need to create an inbound firewall rule to allow ICMP traffic.
What’s Next?
In part 3, we’ll set up Active Directory Domain Services on our Windows Server and configure our domain environment. This will include promoting the server to a Domain Controller and joining our Company-PC to the domain.